2 IDM for Microsoft Windows
2.1 System Requirements
-
Windows 10 or higher.
- The IDM also can run on Windows 7, but newly introduced features may have limitations on these systems.
- System that meets the minimum requirements of the respective Windows version. In general, ISA Dialog Manager puts no extra demands beyond these system requirements.
-
200–300 MB free disk space, depending on the installed options.
- During installation more disk space may be needed.
- Monitor with at least XGA resolution (1024 x 768 pixels).
-
Microsoft Visual Studio 2017.
- If you use the Express Edition, you need Visual Studio Express 2017 for Windows Desktop.
- For the documentation: current Web browser or a PDF reader.
- For installation: DVD drive.
Please note, that ISA Dialog Manager has to be installed following the instructions of this guide. After installation it cannot be copied or moved to another directory. This can only be done by uninstalling and reinstalling the software.
An installaltion to a network drive is not intended. The attempt will usually lead to an abort after all files have already been unpacked. After that the unlocking of the files can take place. This can only be done in the last phase of the Windows installation. This phase is executed by the Windows Installer under the "SYSTEM" account and usually has no access to network resources.
IDM applications, like the IDM itself, require the Visual C++ Redistributable Packages for Visual Studio 2017.
2.2 Installation
Insert the ISA Dialog Manager DVD into the DVD drive of your computer. Start the respective setup program:
<IDM_platform_language>.msi
The Welcome Screen of the installation program appears.
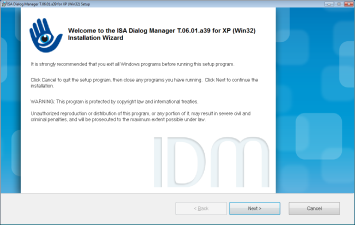
Click Next in this and the subsequent dialogs to continue with the installation.
When you click Cancel, the installation program will be quit without installing ISA Dialog Manager.
In the next dialog, enter your user name, your company and your license key. You will find your license key on the sticker inside the DVD cover.
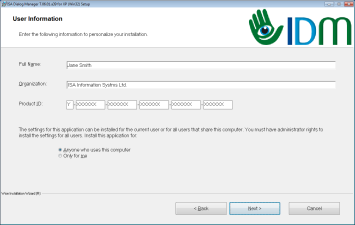
If you have administration privileges, you can choose whether ISA Dialog Manager shall be installed for the current user only or for all users.
Next the dialog for selecting the installation type is shown.
Select Complete (recommended) to install ISA Dialog Manager with all licensed options, documentation and examples.
Select Custom to specify individually the features that shall be installed.

Options for an Installed Ancestor Version
If the installation program finds an ancestor version on the system, it displays whether this version can be replaced automatically. You can select then, if it shall be replaced and if the new version shall be installed into the same directory as the ancestor version.
Changing Installation Directory and Start Menu Group
Through the Options button, you can alter the installation directory and the start menu group. You will be prompted with a dialog that shows the current settings and offers buttons to browse the directory tree. Installation on a network drive is not provided.
When you have chosen the customized installation, a dialog with checkboxes for all installable features is shown next. Mark the checkboxes of all features that shall be installed. You can change your selection later by running the installation program again.
The actual dialog may differ from the image as only those components are listed and can be selected, which are covered by your license.

With the Disk Cost button, the disk space required for installation and the available disk space on the volumes of your computer are displayed.
For both installation types, complete and custom, the settings will be revealed to you once more in the next step.
Press Next in this dialog to install ISA Dialog Manager with the displayed settings.
If you want to adjust the settings, you can go to the previous steps using the Back button.
In the further course of the installation, the progress and the currently performed operation are shown.

After all operations have been completed, the Success Screen notifies you about the end of the installation.

Press Finish to close the installation program.